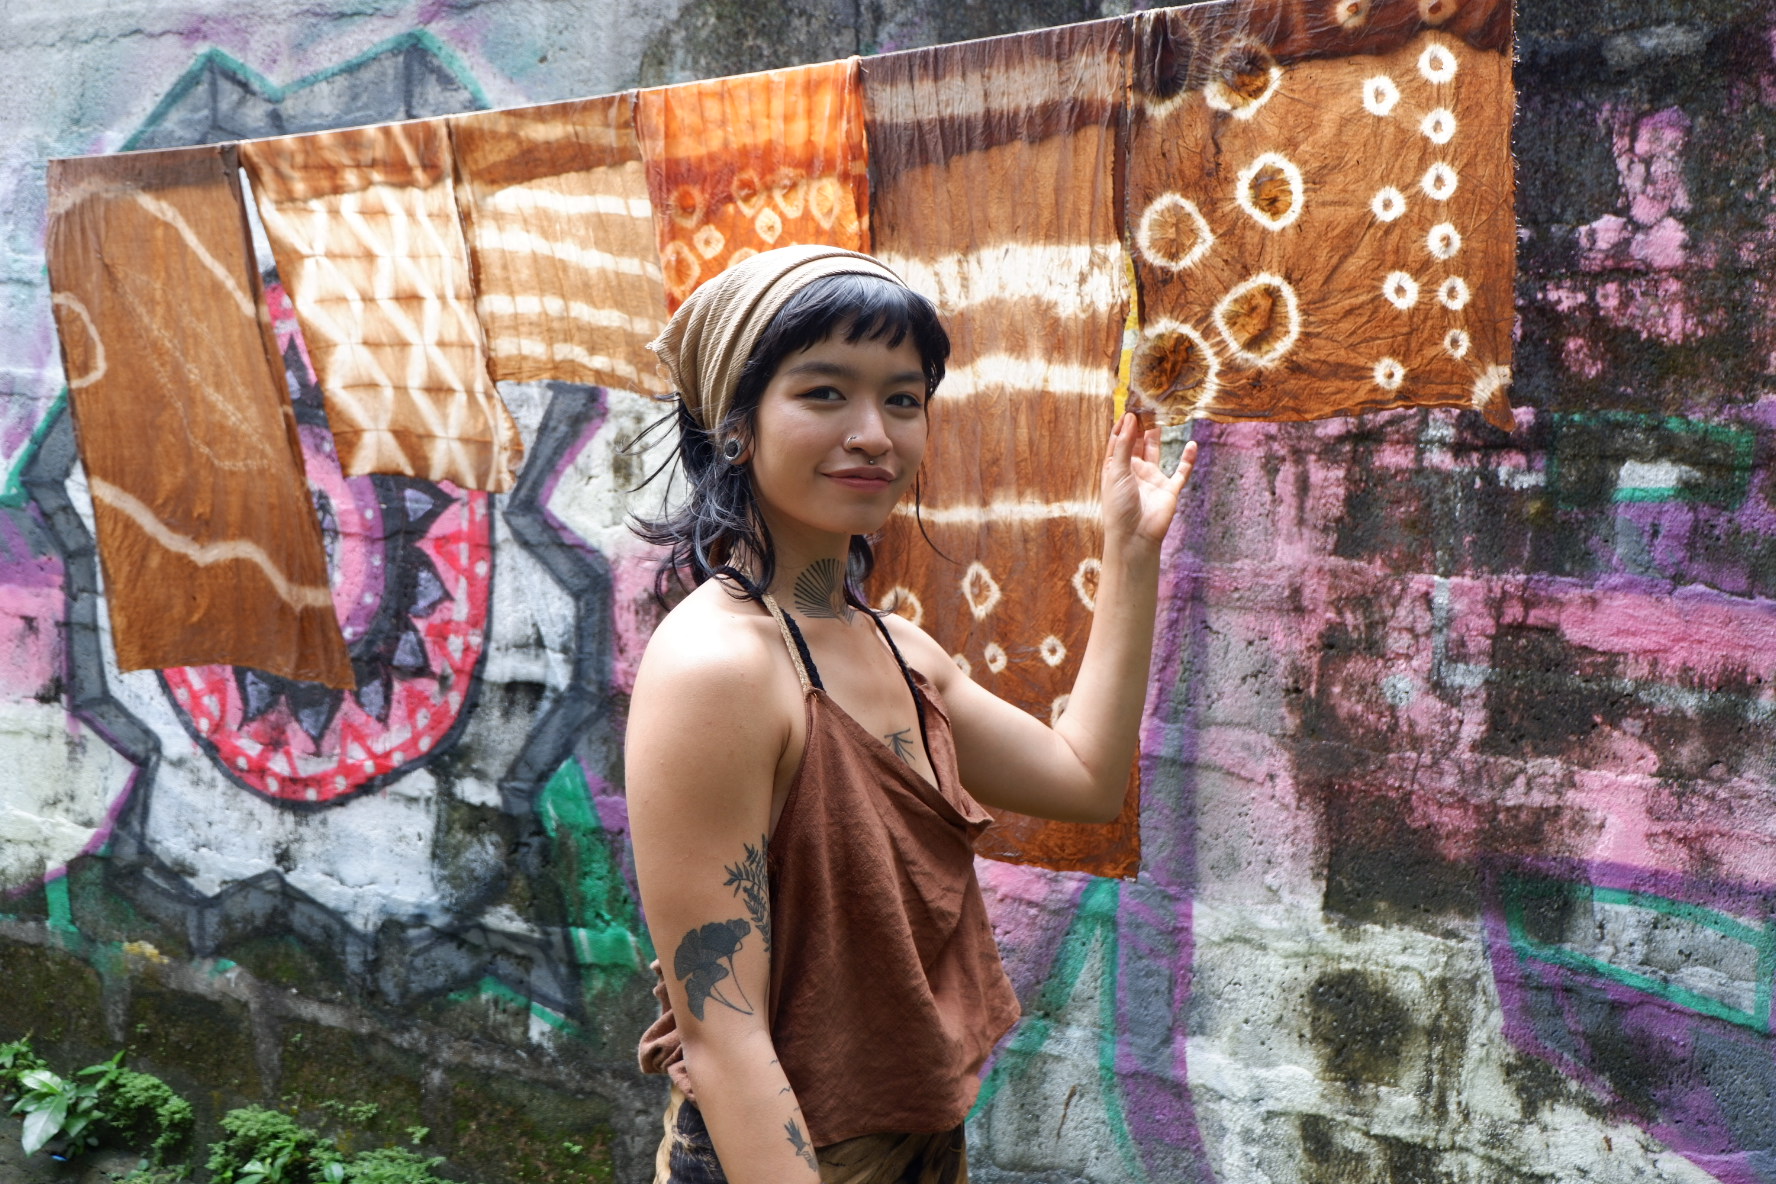
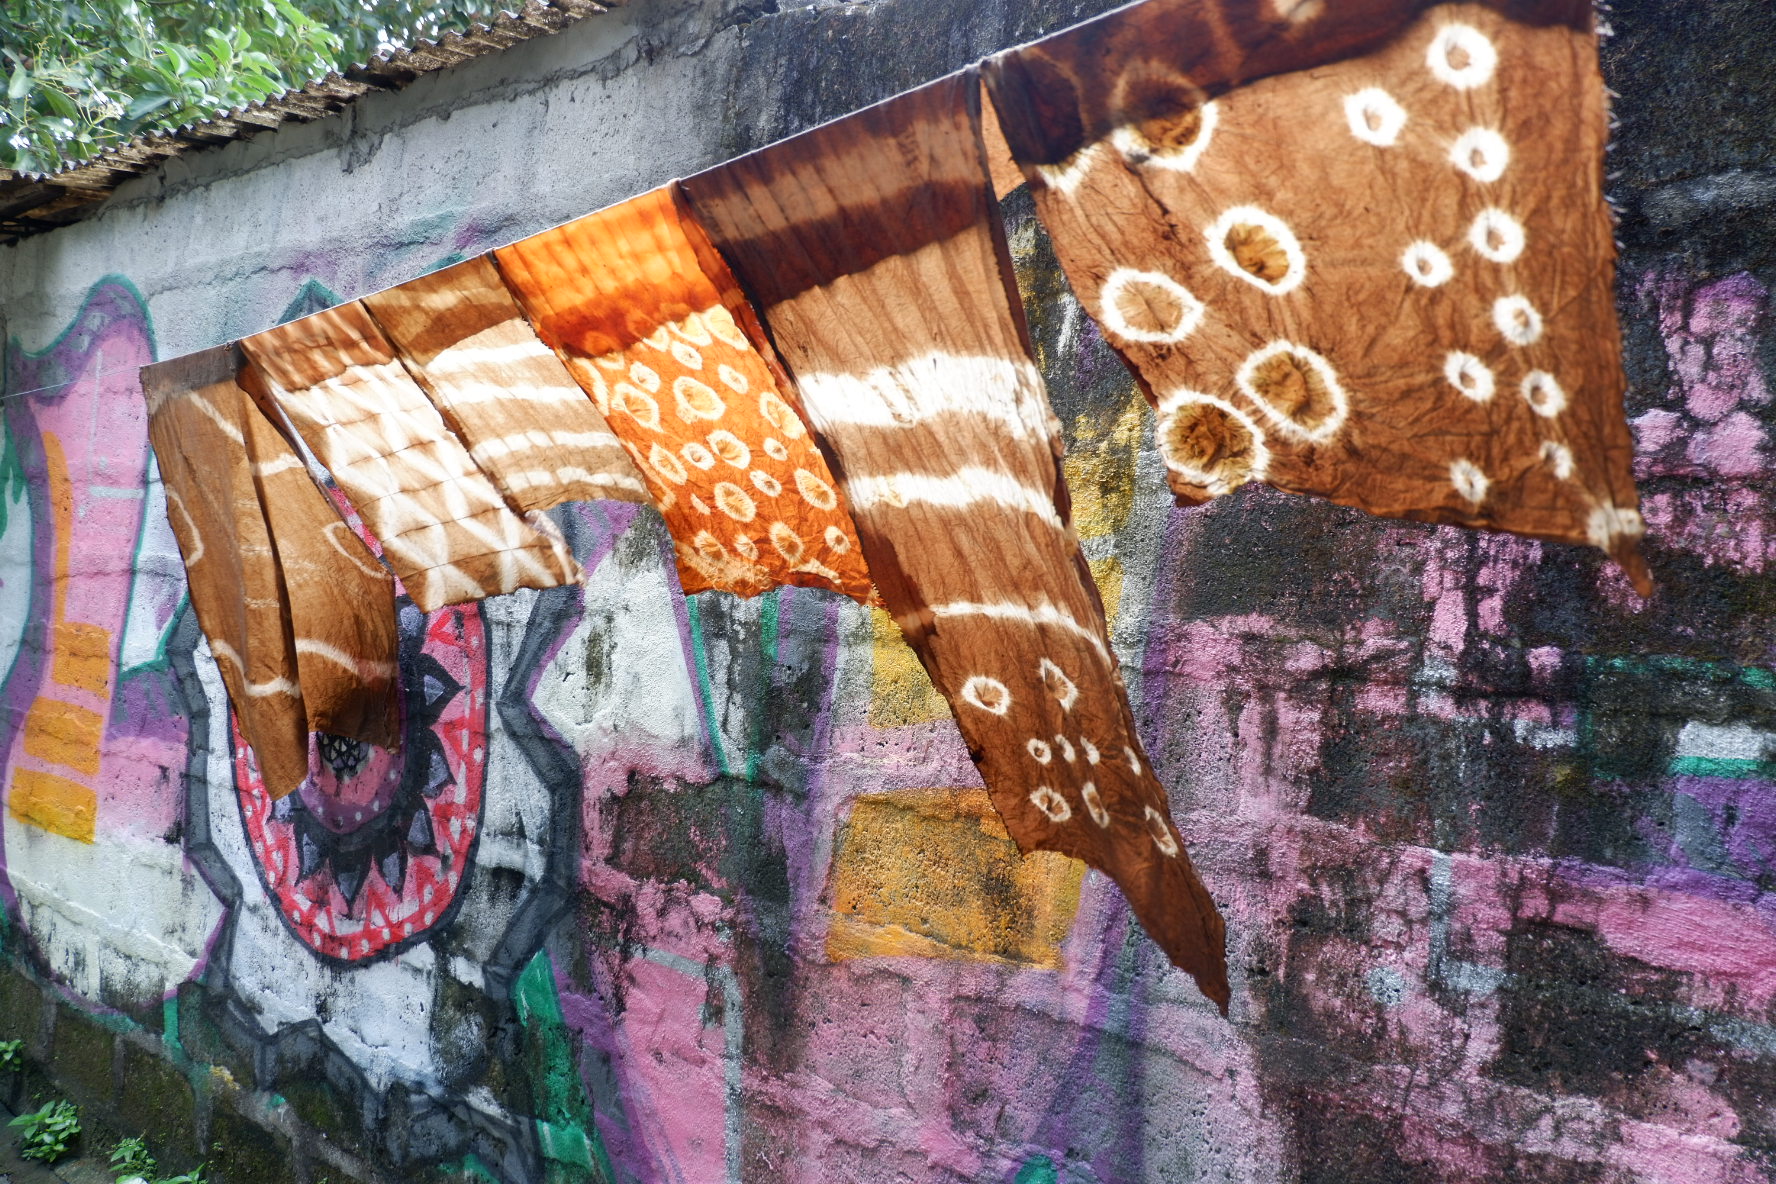
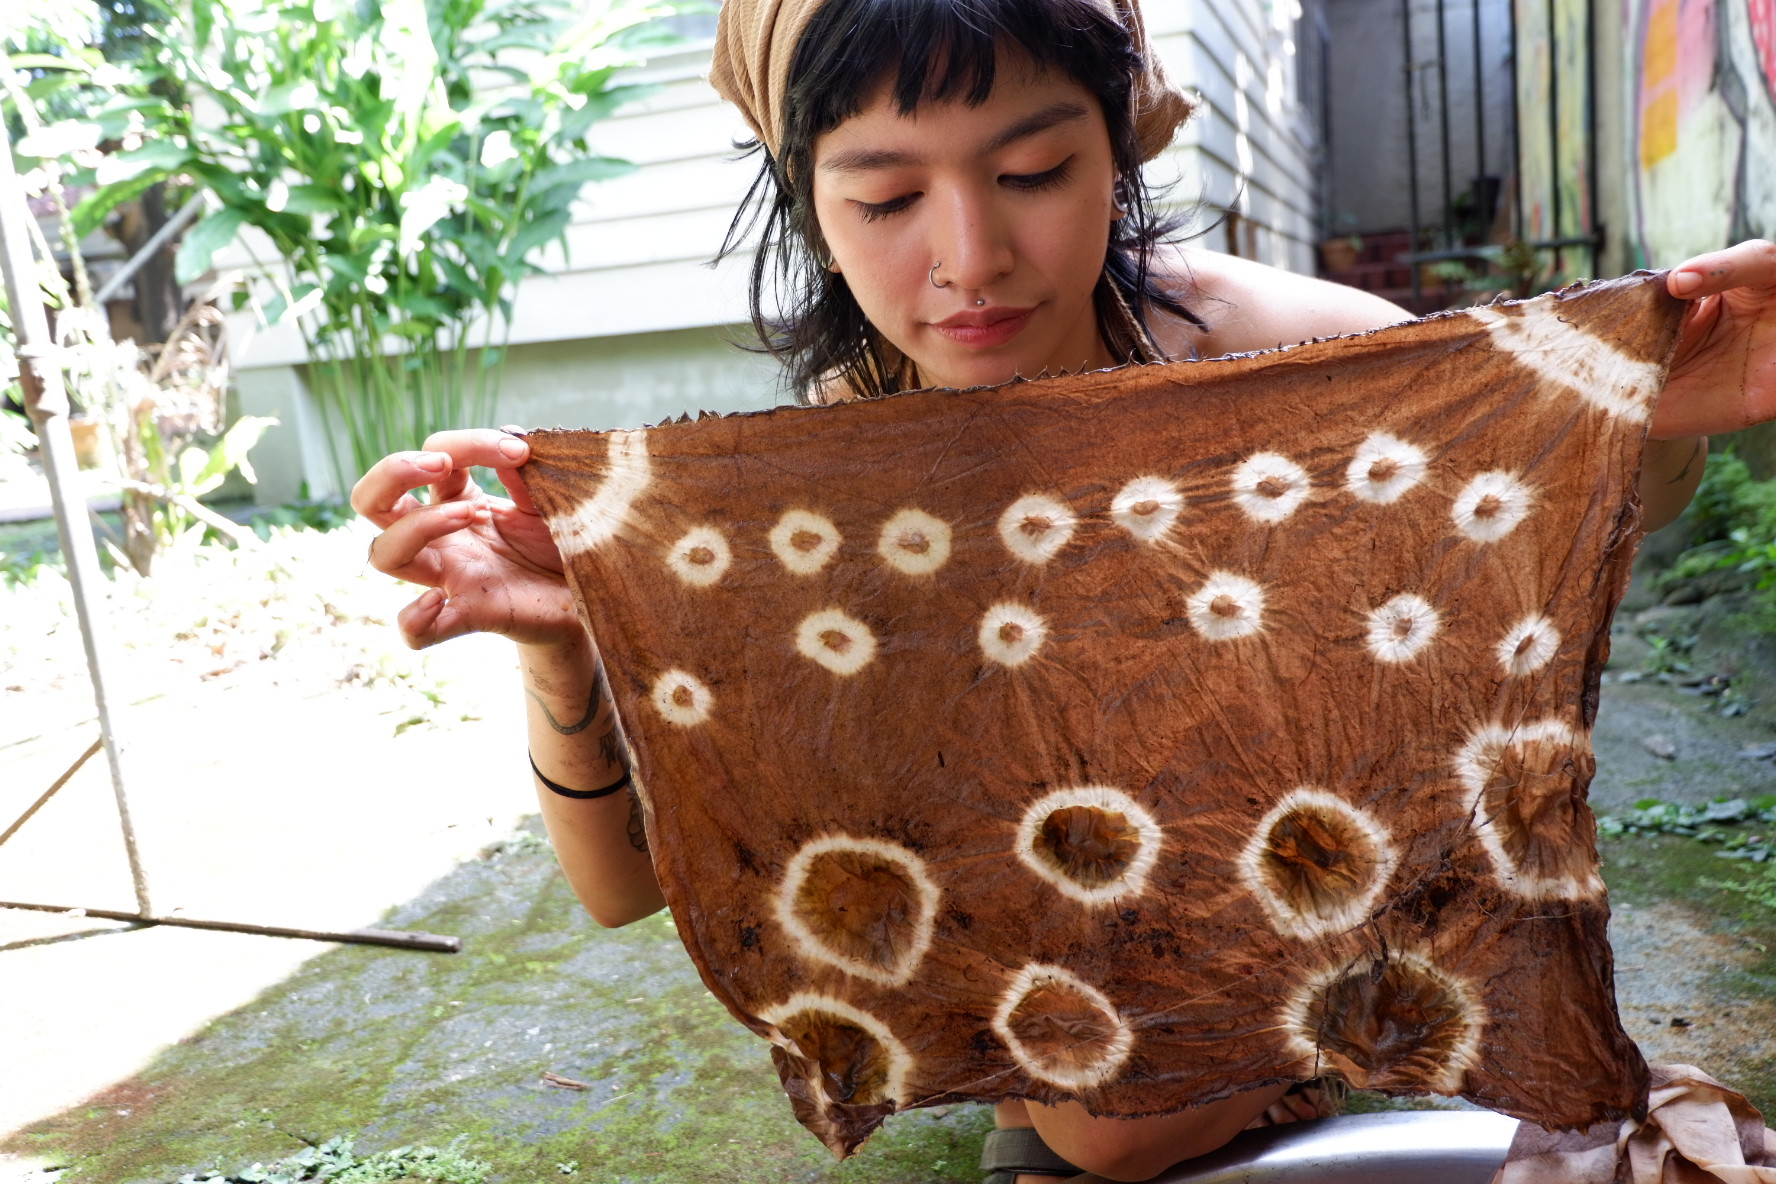
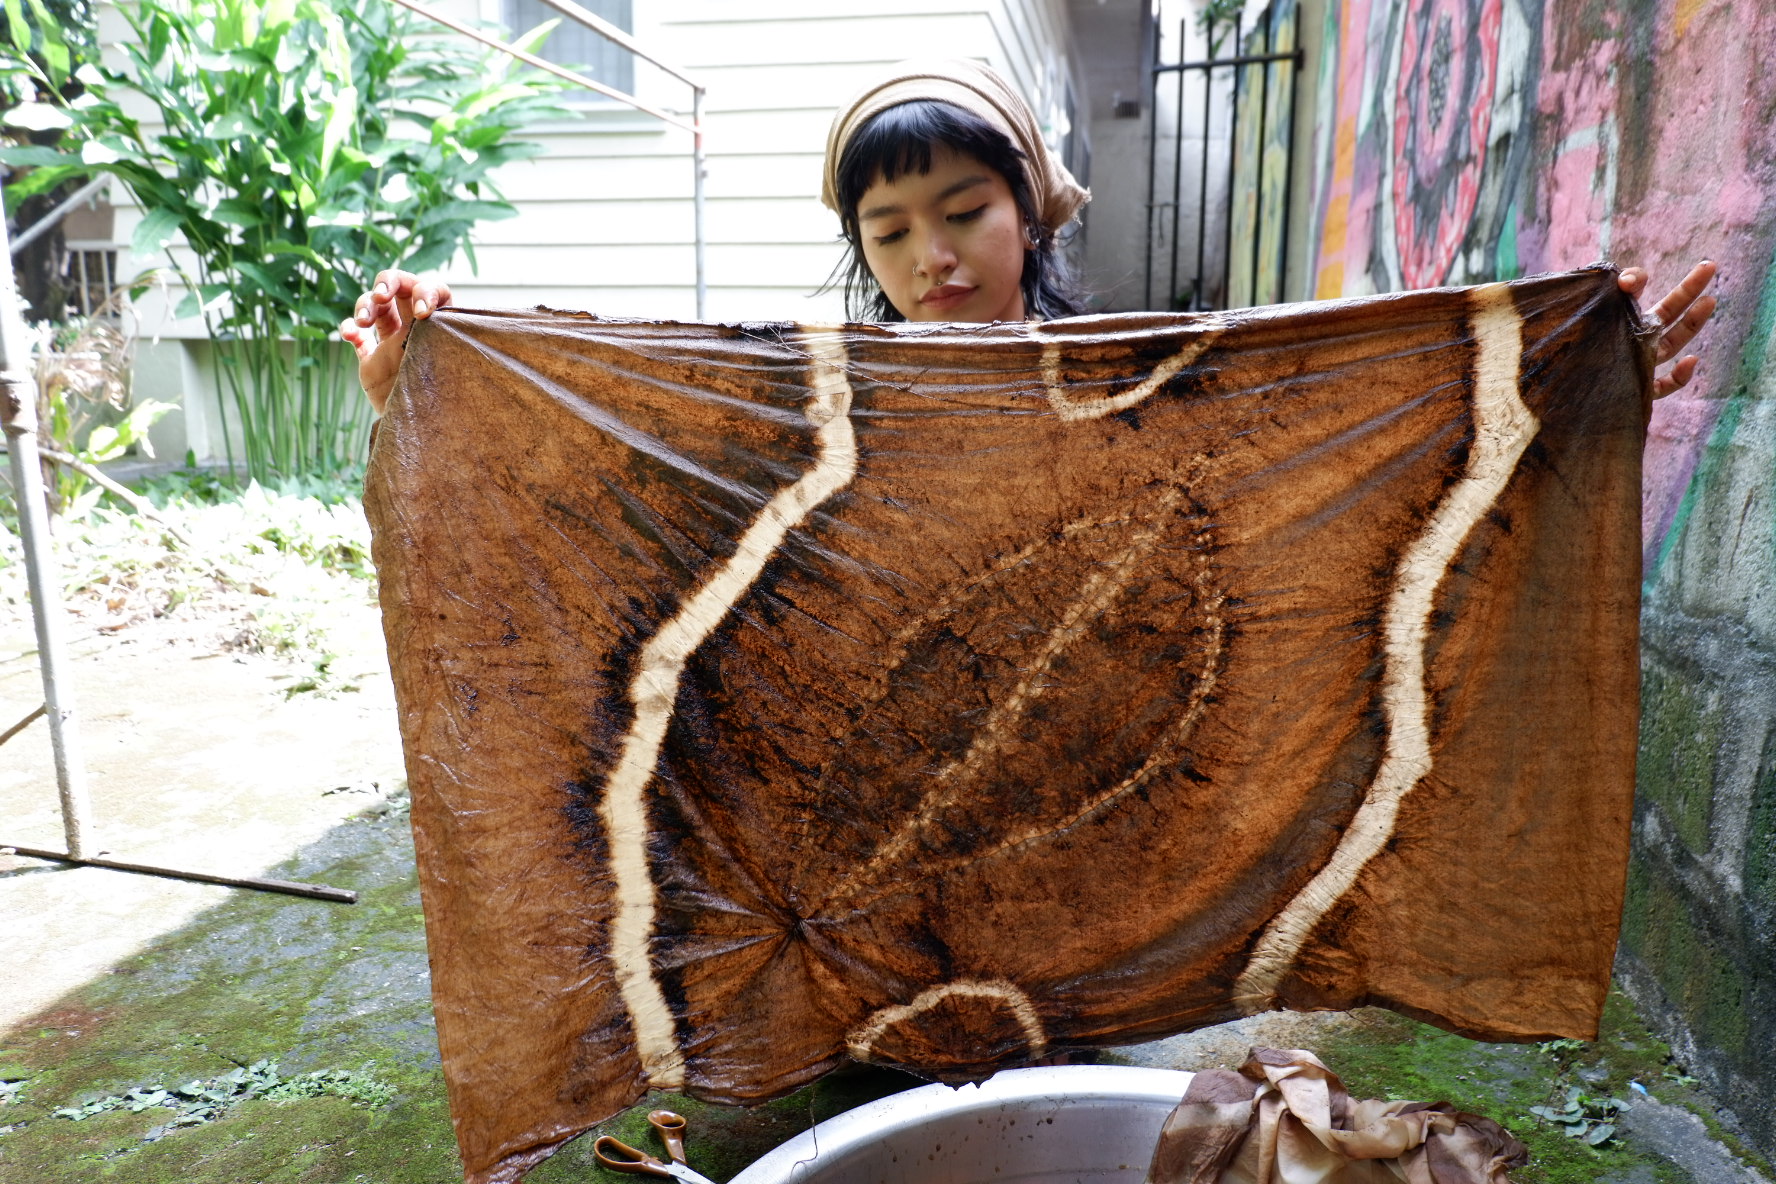
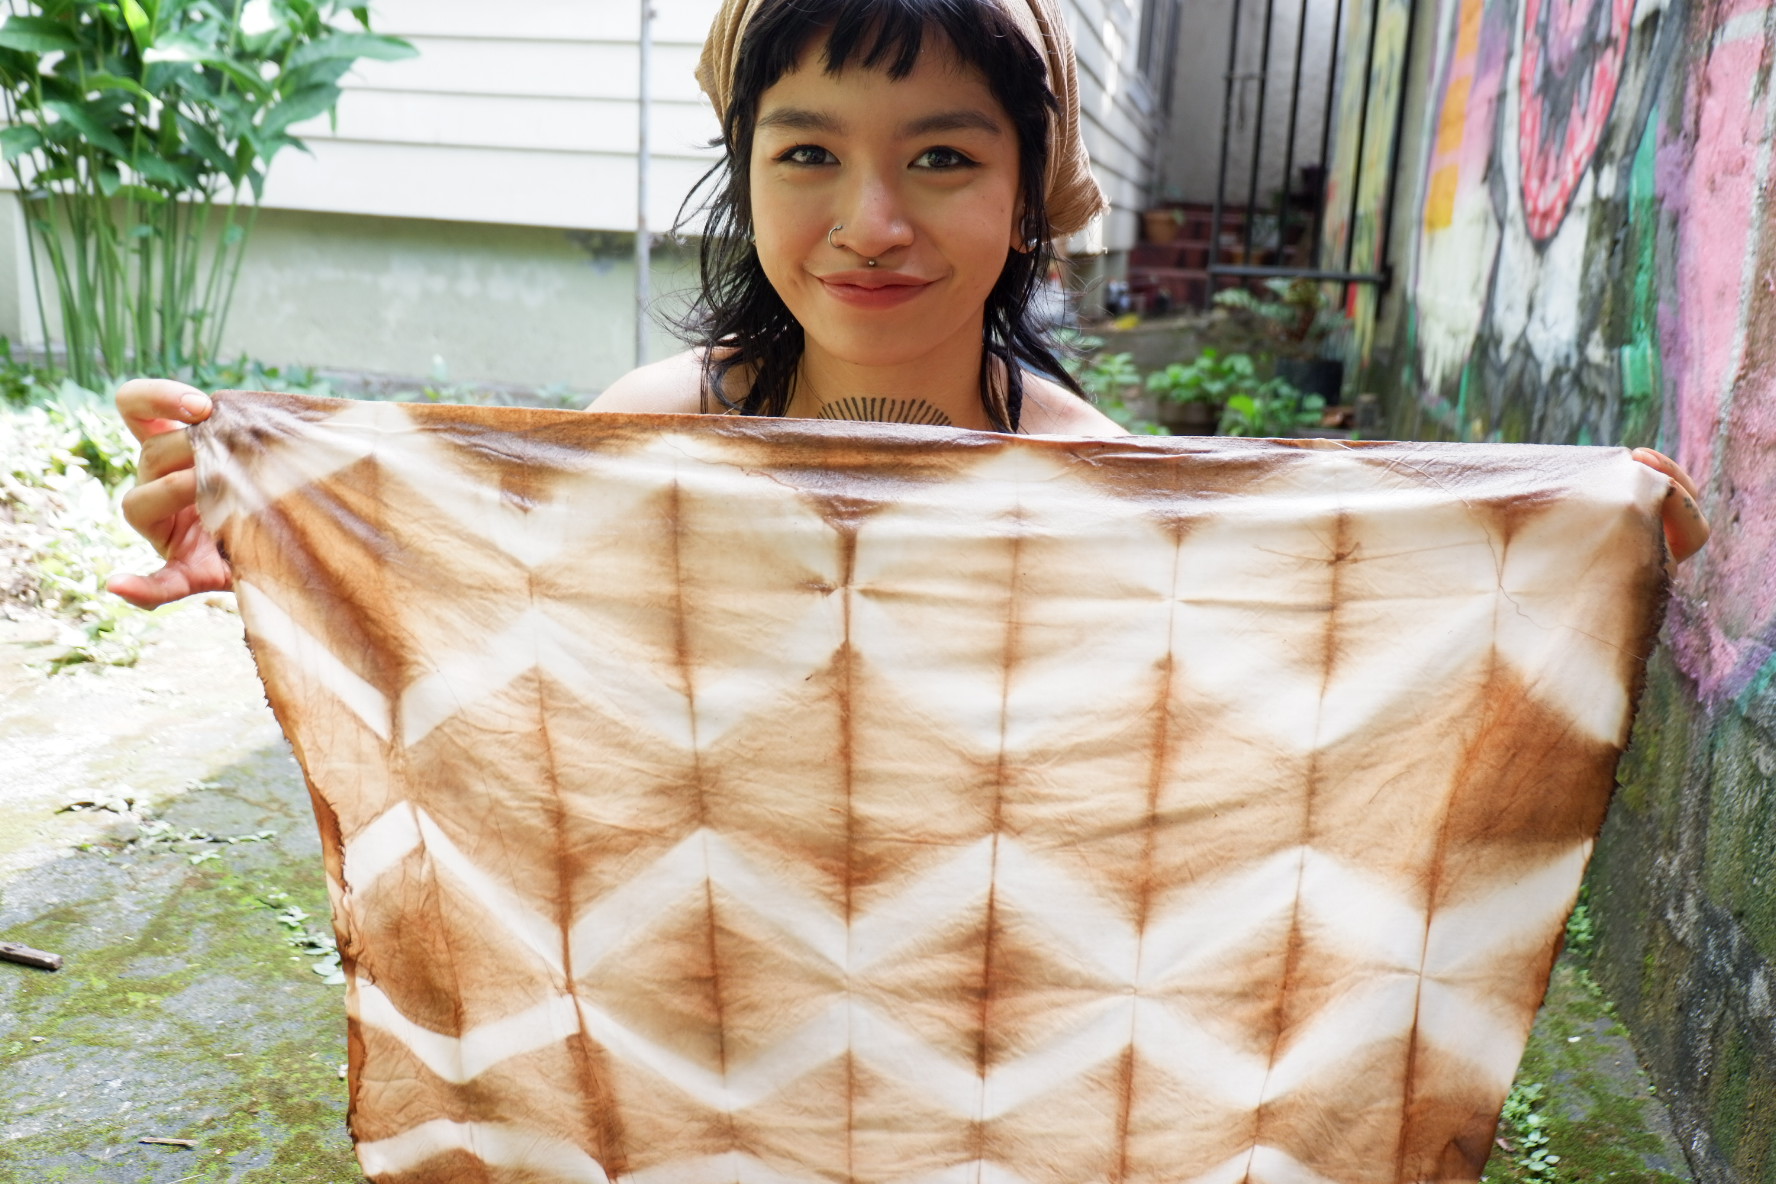
Natural dyeing is the process of using natural elements, such as flowers, barks and leaves...or even insects or pests to create pigments to dye on fibers or textile, or any natural material.
Materials
- Stainless steel pot
- Bucket
- Wooden / Stainless steel spoon
- Strainer
- Washing soda / baking soda
- Mild detergent
- Yarns/rubber bands
- Marbles/wooden beads
- Thread & needle
- Scissors
- Fabric of natural fiber (cotton, linen, silk, wool, pina, abaca, etc) natural dyes will only adhere to natural fibers
- Soy milk
- Used Coffee grounds
- Onion skins
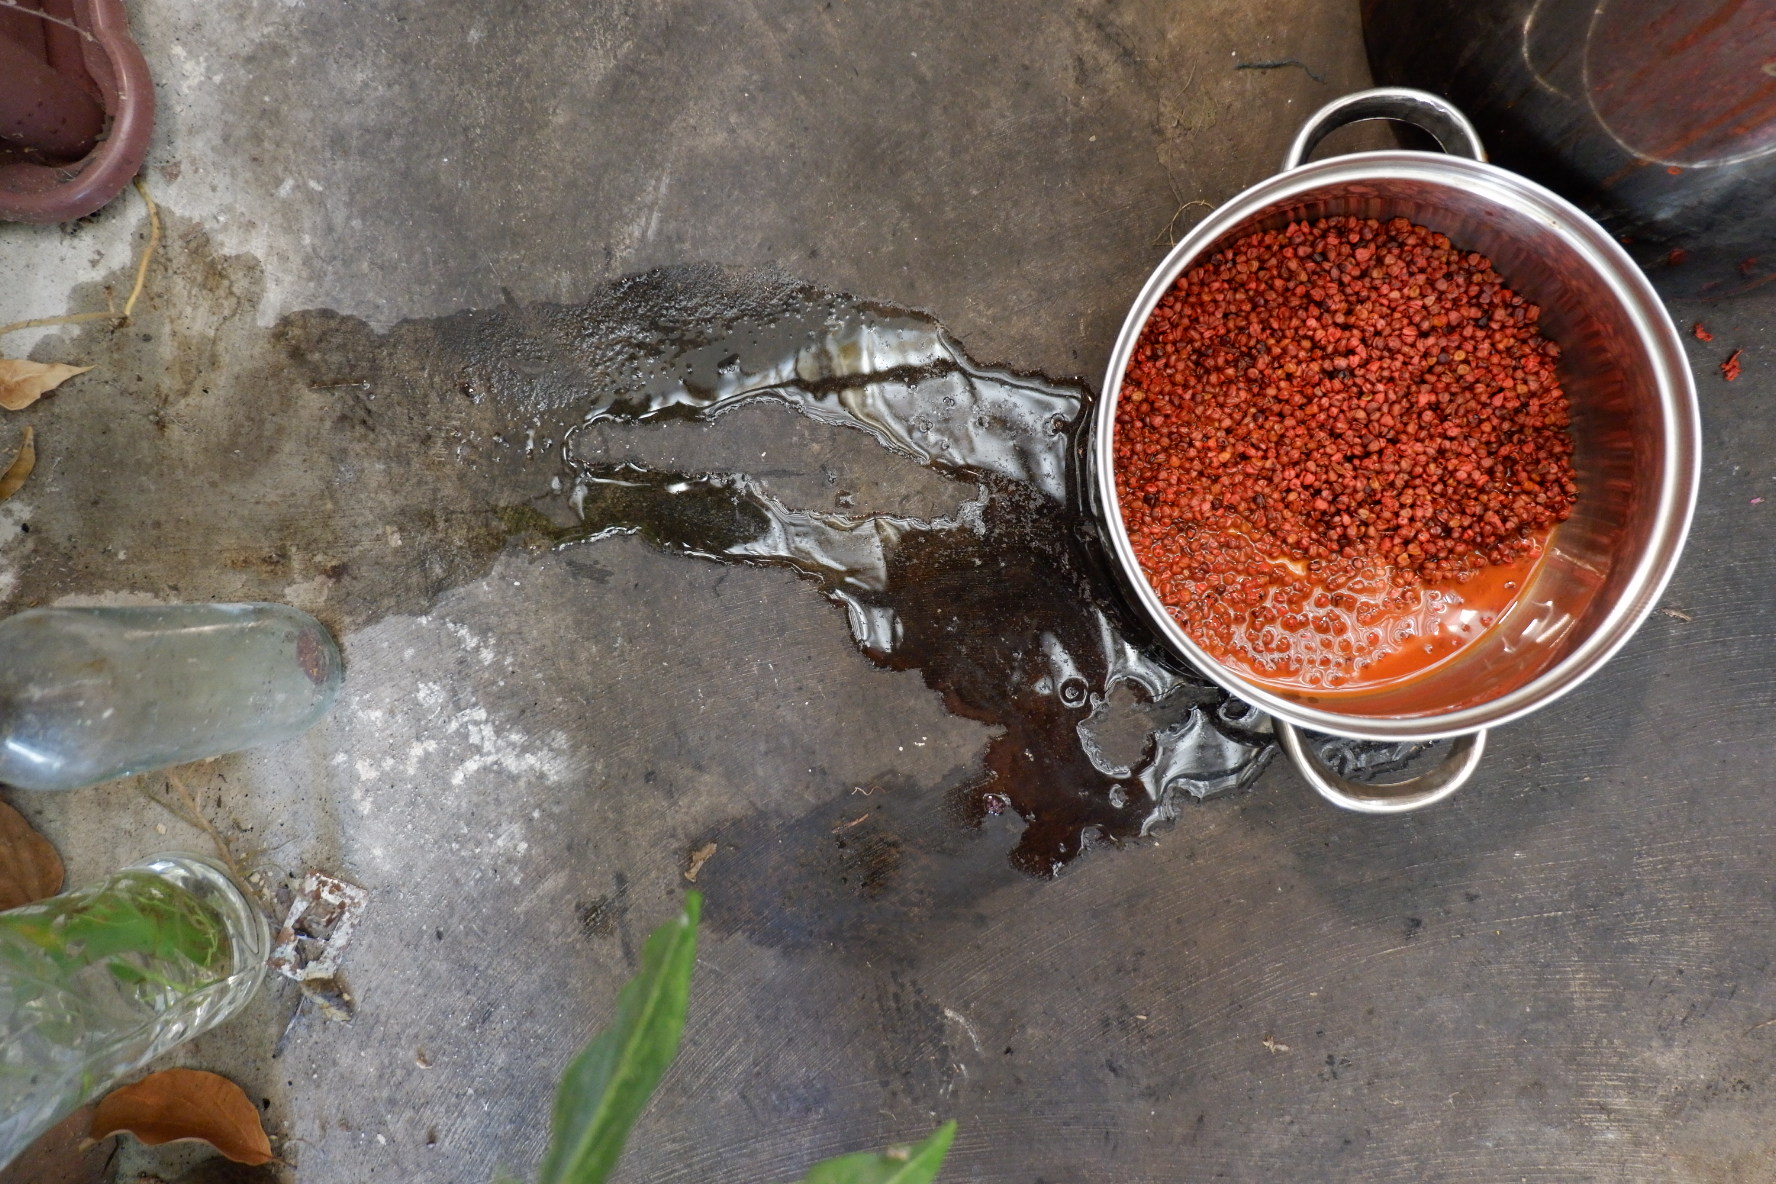
- Annatto seeds
Step 1: Scouring
This first step is to remove wax/dirt build up in the fabric.
- Add water to the pot just enough so that the fabrics will be completely submerged
- Heat over high heat, and add in 2 tbsp washing soda & 2 tbsp mild detergent (if you don’t have washing soda you may use baking soda instead), stir to dissolve
- Once the water boils, add in your fabric and let boil for 15-30mins, stirring occasionally
- After boiling, turn off heat & drain the washing soda / detergent solution
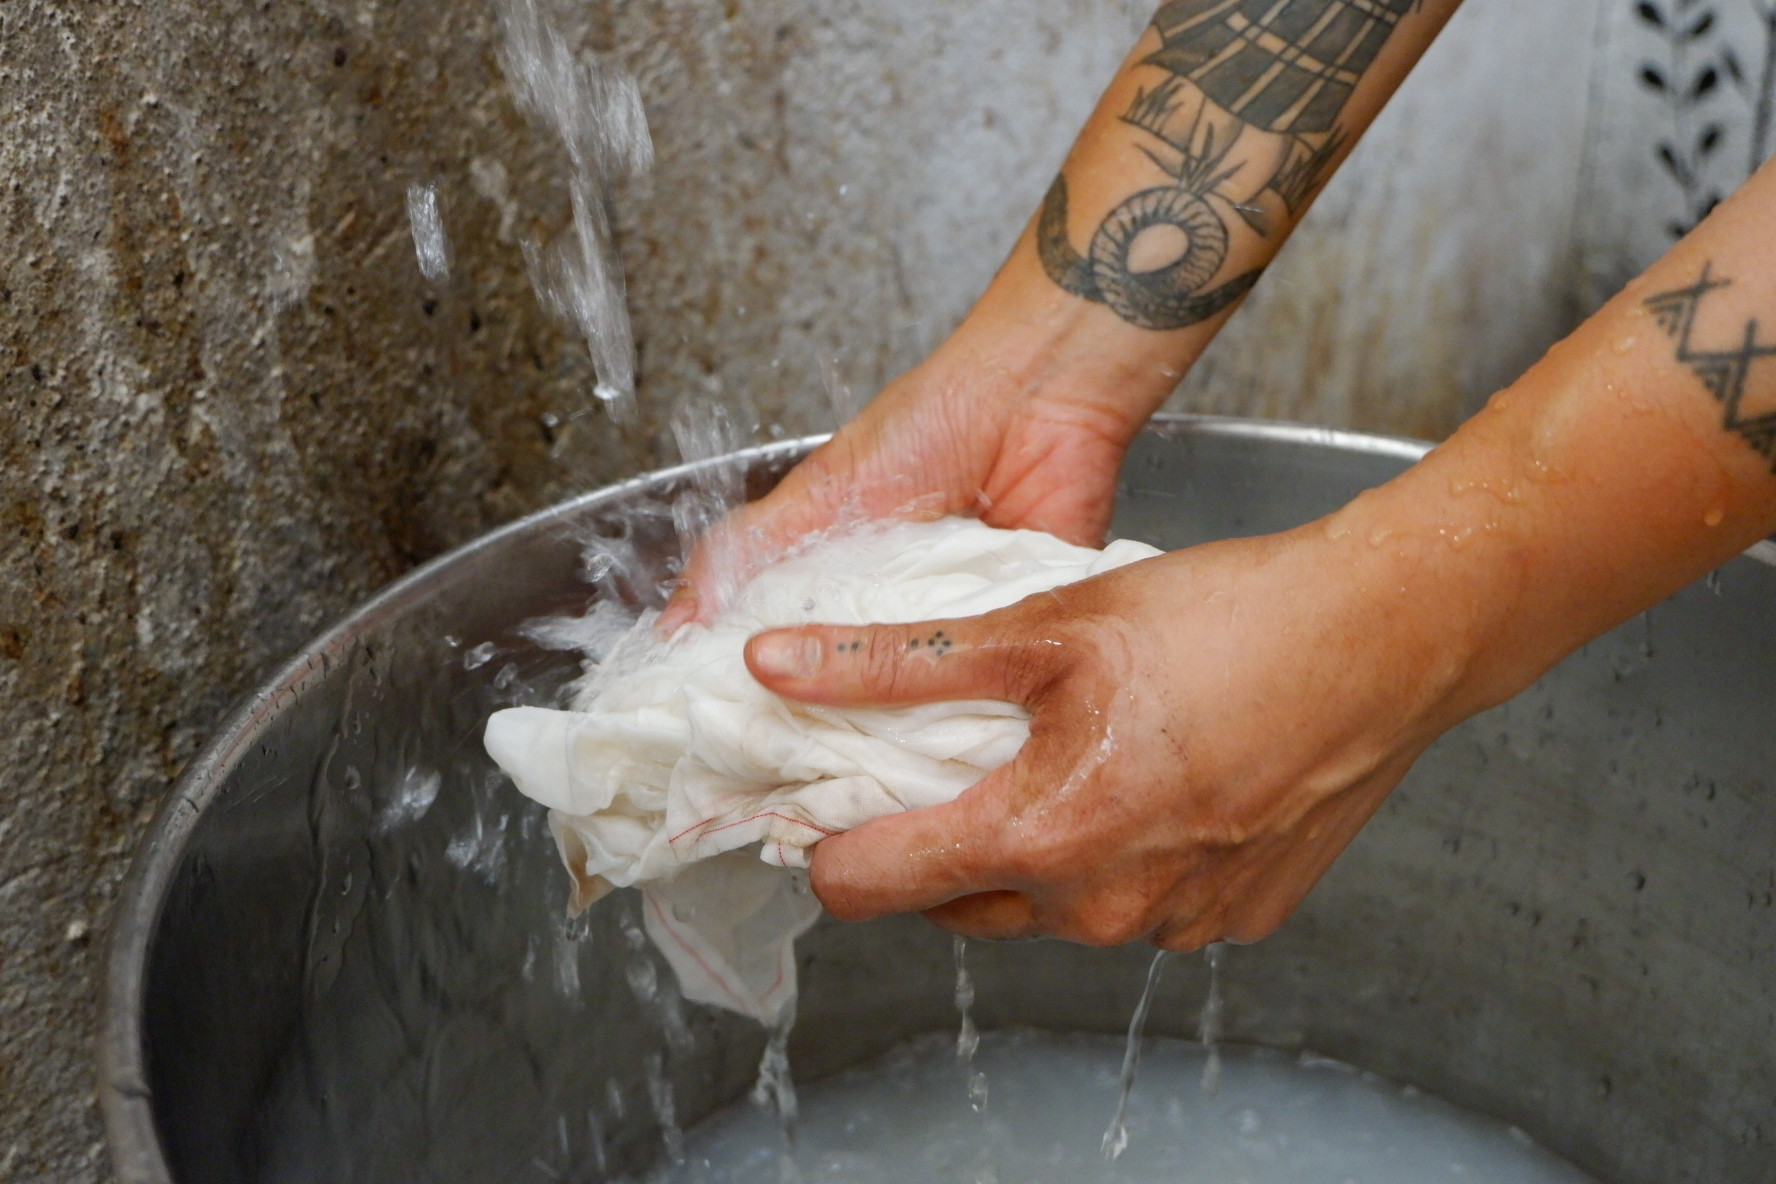
- Wash the fabric and wring out
Step 2: Mordanting
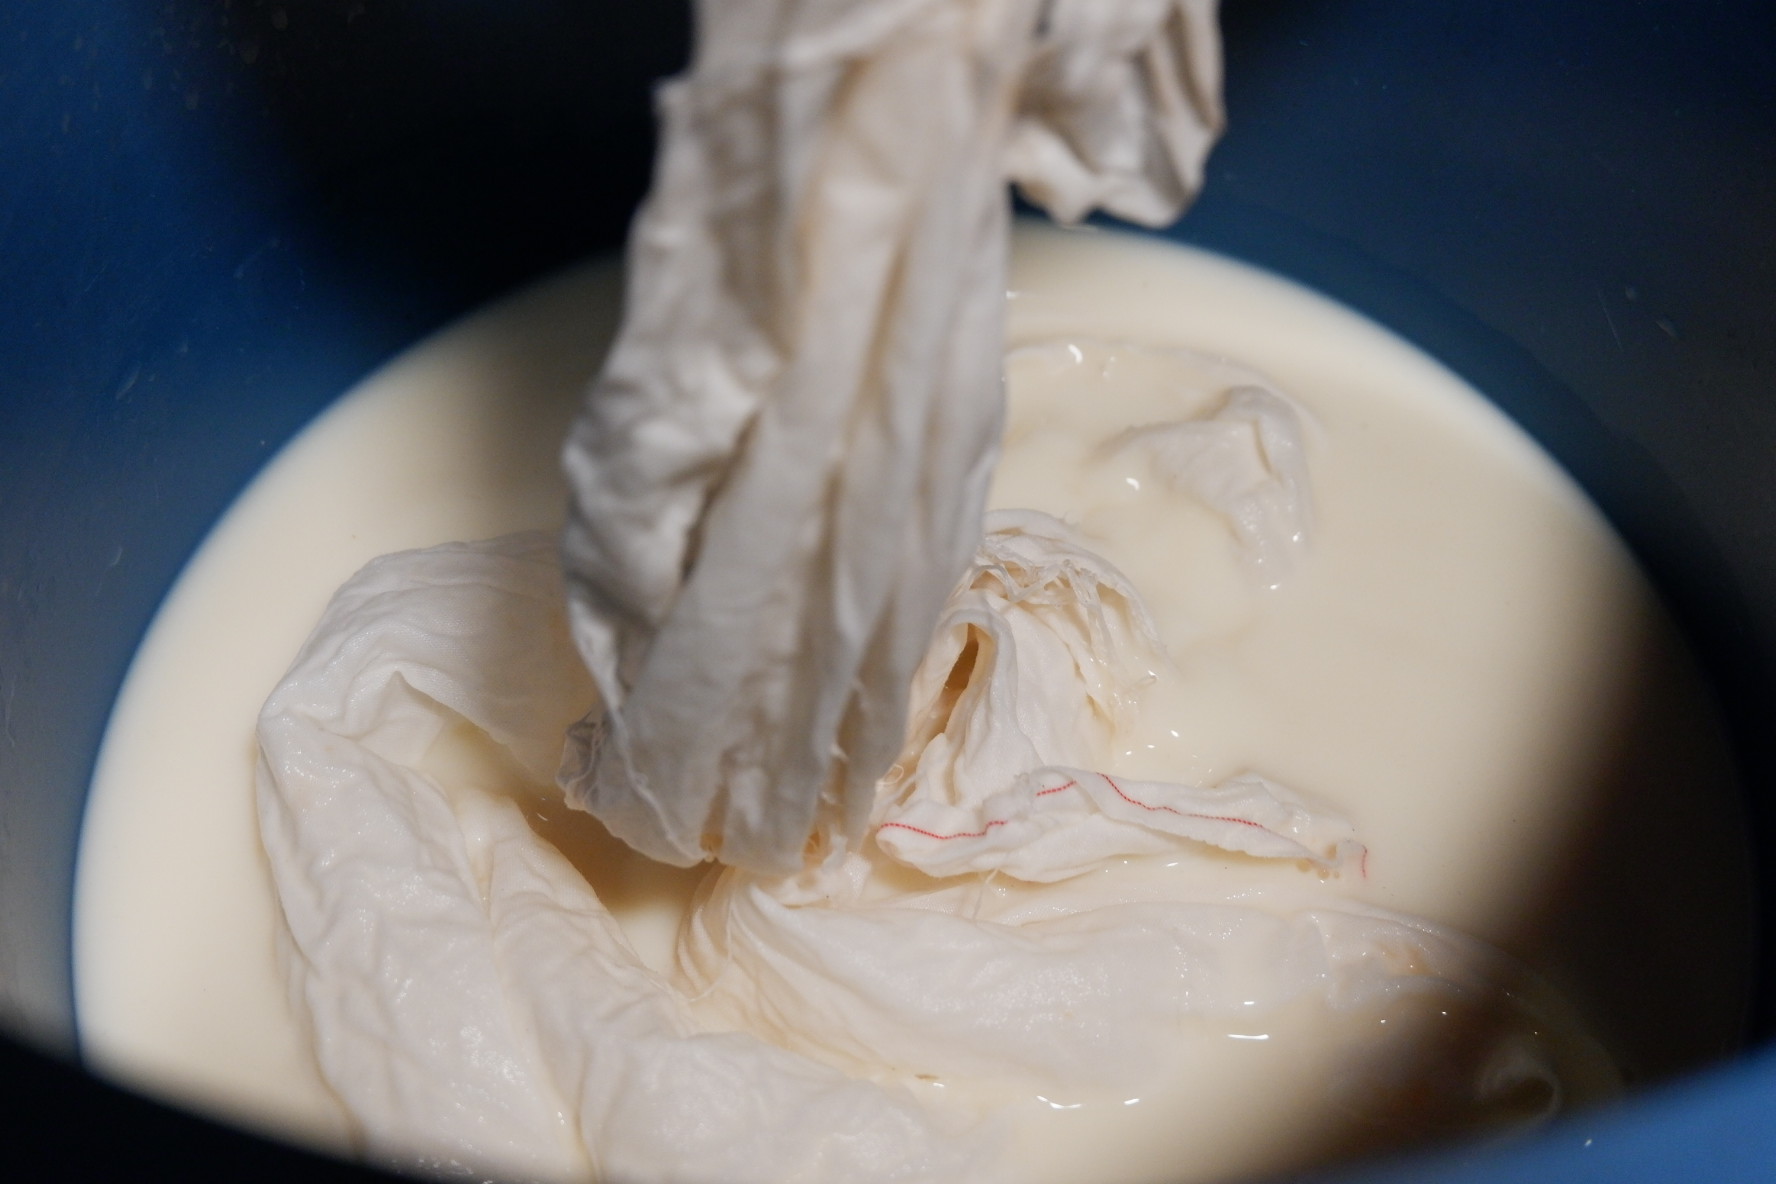
Mordant is a fixative that helps dye adhere to the fibers. For this project, we’ll be using soy milk.
- Mix a ratio of 1 part soy milk to 1 part water in a bucket (example : 1L soy milk, 1L water)
- Add in your fabric (there should be enough liquid for the fabric to move freely)
- Let fabric soak for 6-12 hours, stirring occasionally (keep the bucket in a shady & cool area to prevent soy milk from spoiling)
- After soaking, remove fabric and squeeze out excess milk
- Put the fabric in a spin cycle and hang to dry, let the fabric cure for at least 1 week before using
Step 3: Extraction of the Dye Bath
- Put the dye stuff (ground coffee/onion skins/annatto seeds) in pot, fill with water enough to cover dye stuff (1 part dyestuff to 3 parts water)
- Let boil for 1-2 hours to extract pigment from dye stuff
- After boiling, separate dye stuff from extract with strainer
- Set aside the dye bath
Step 4: Creating Dye Resist Patterns
Some dye resist techniques
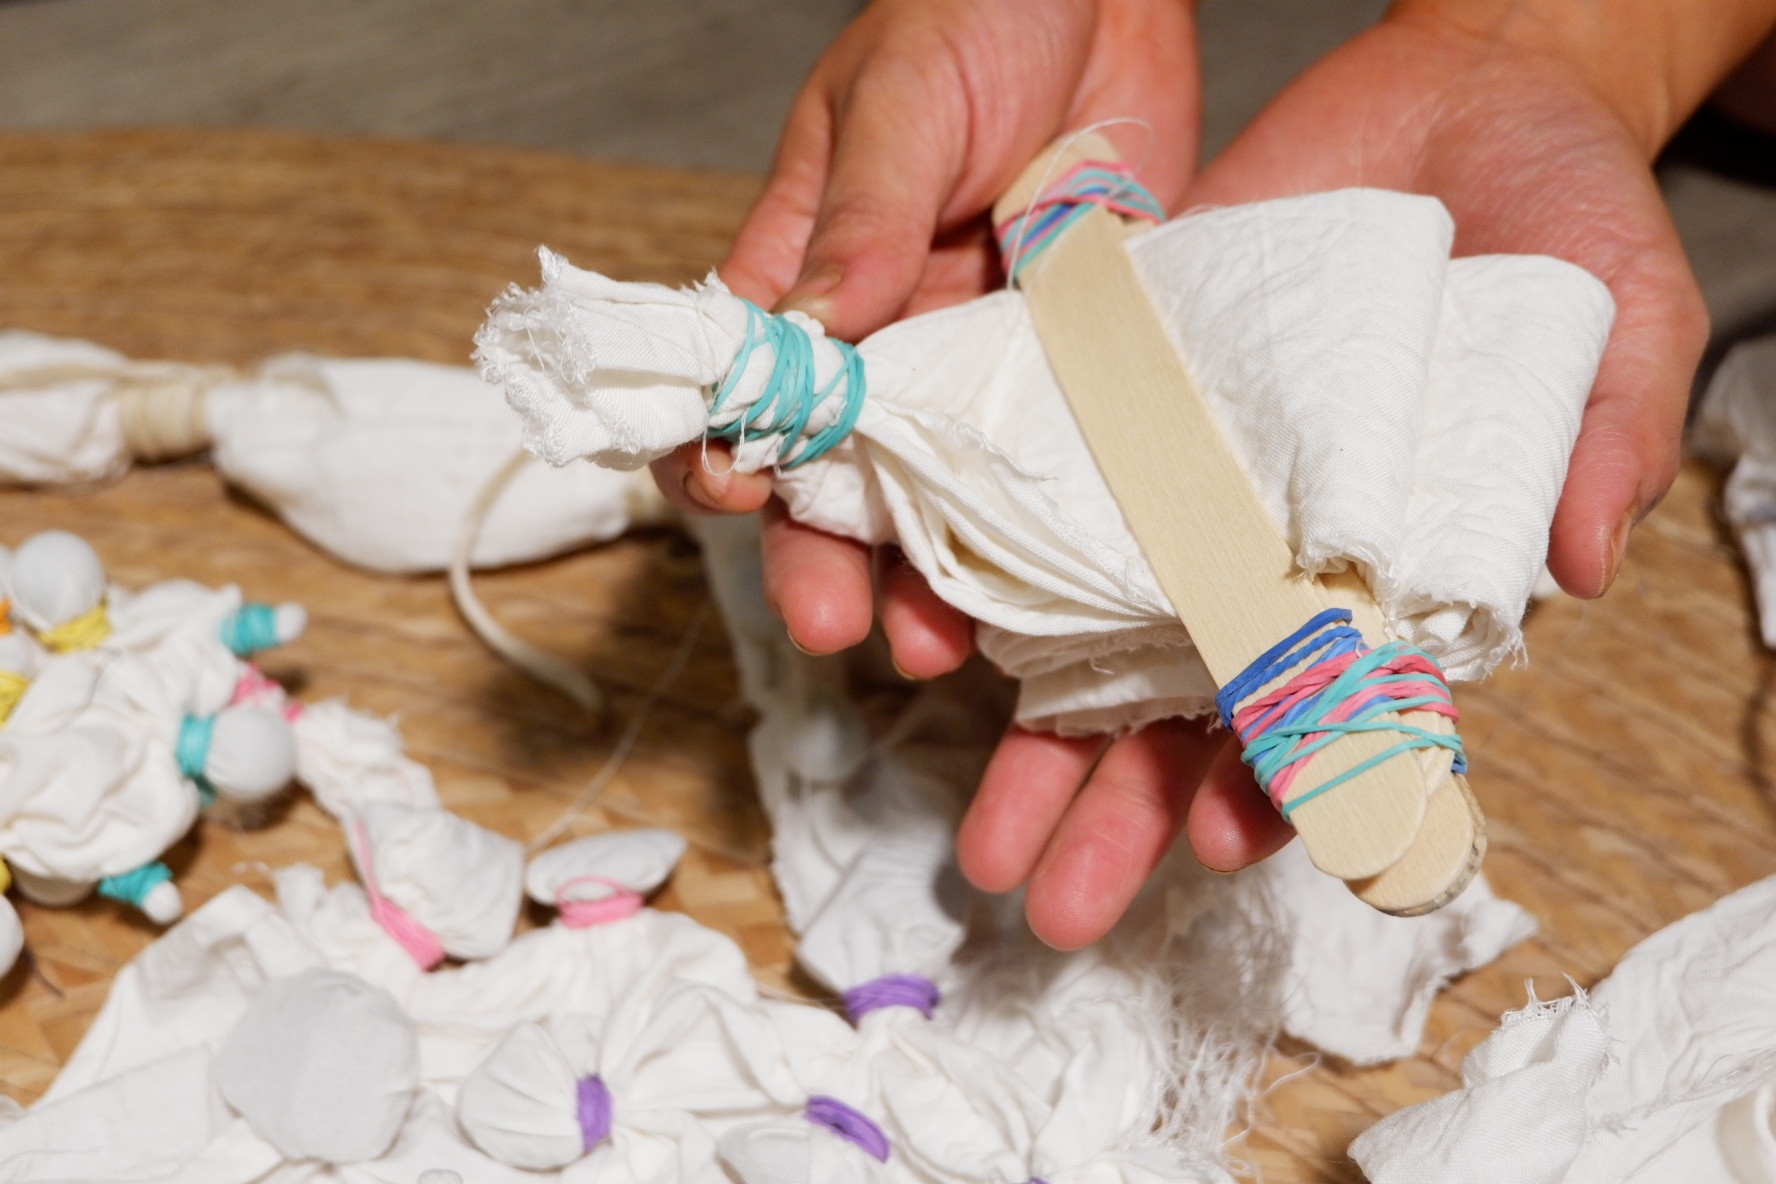
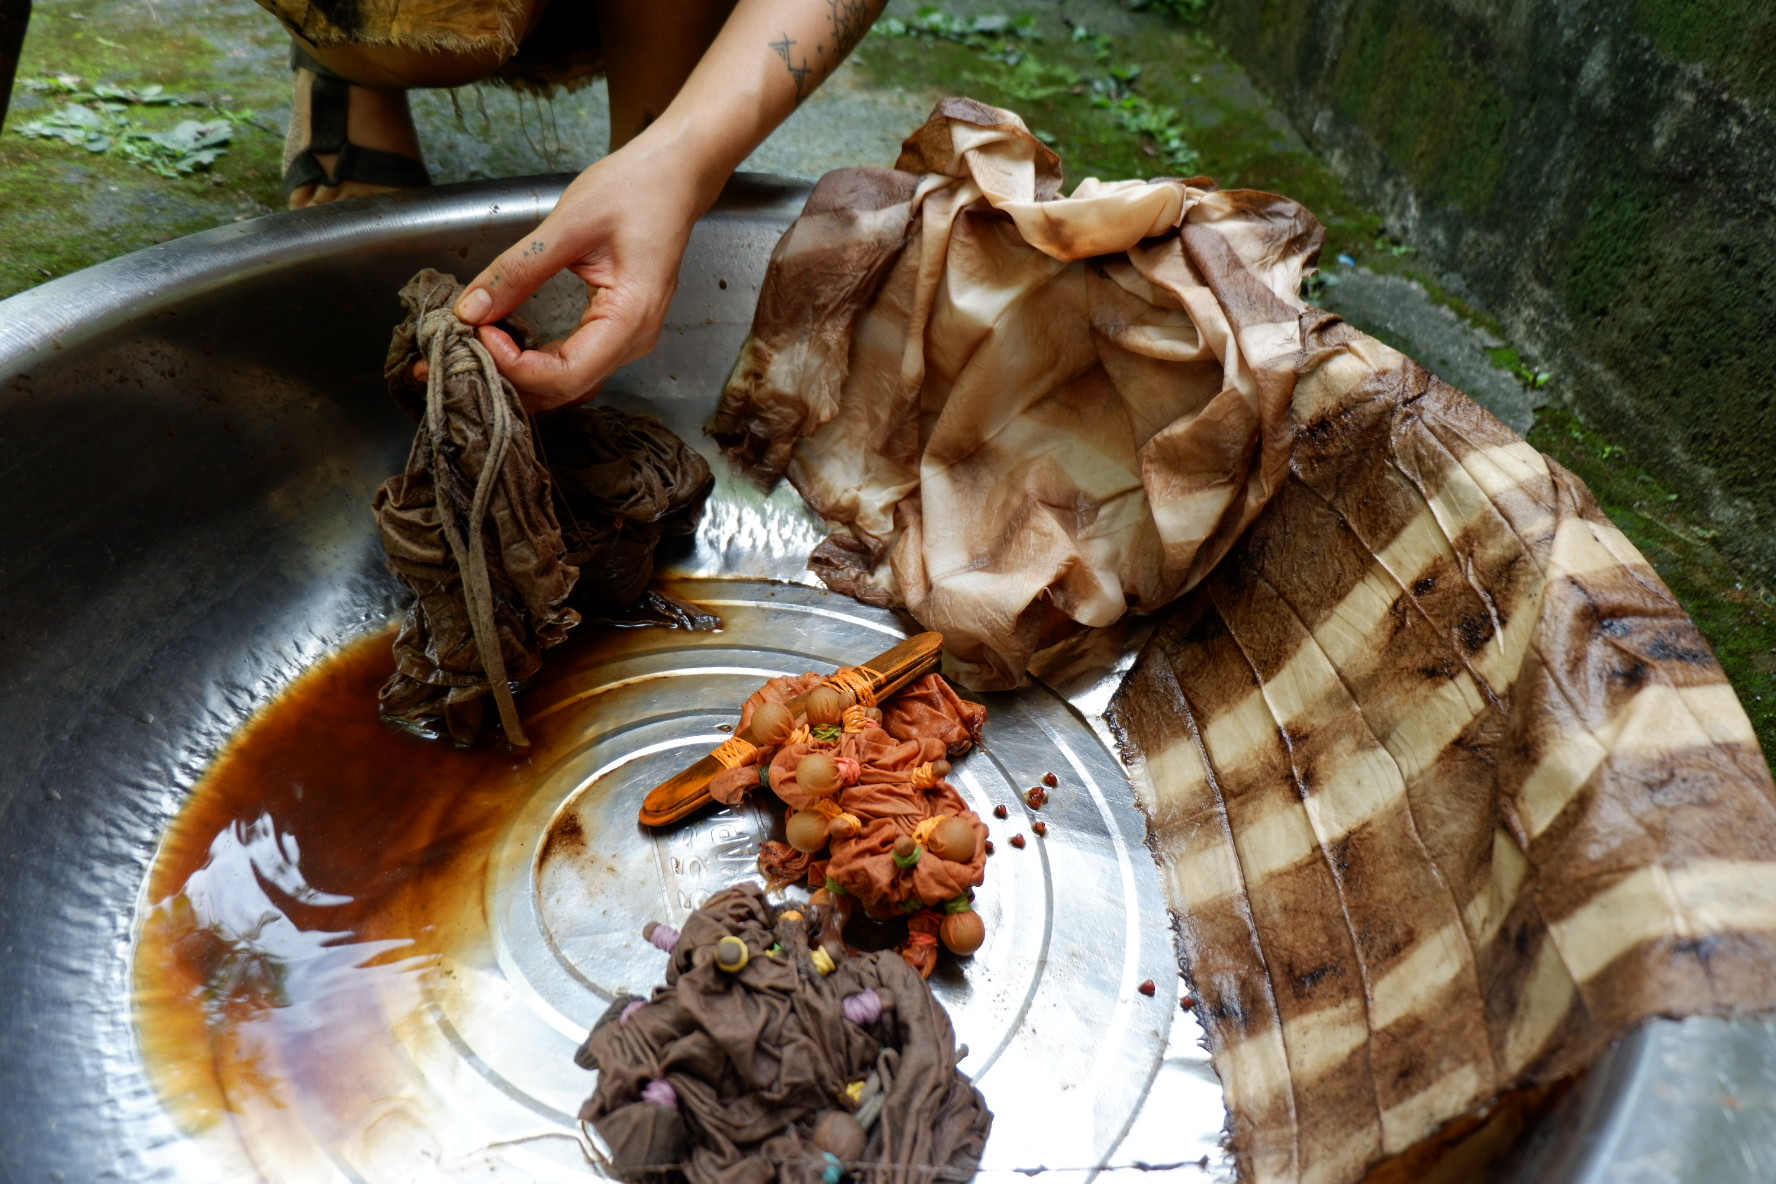
- Tie fabric with rubber bands/horizontally or vertically with yarn
- Accordion fold your fabric and tie with popsicle sticks to create geometric patterns
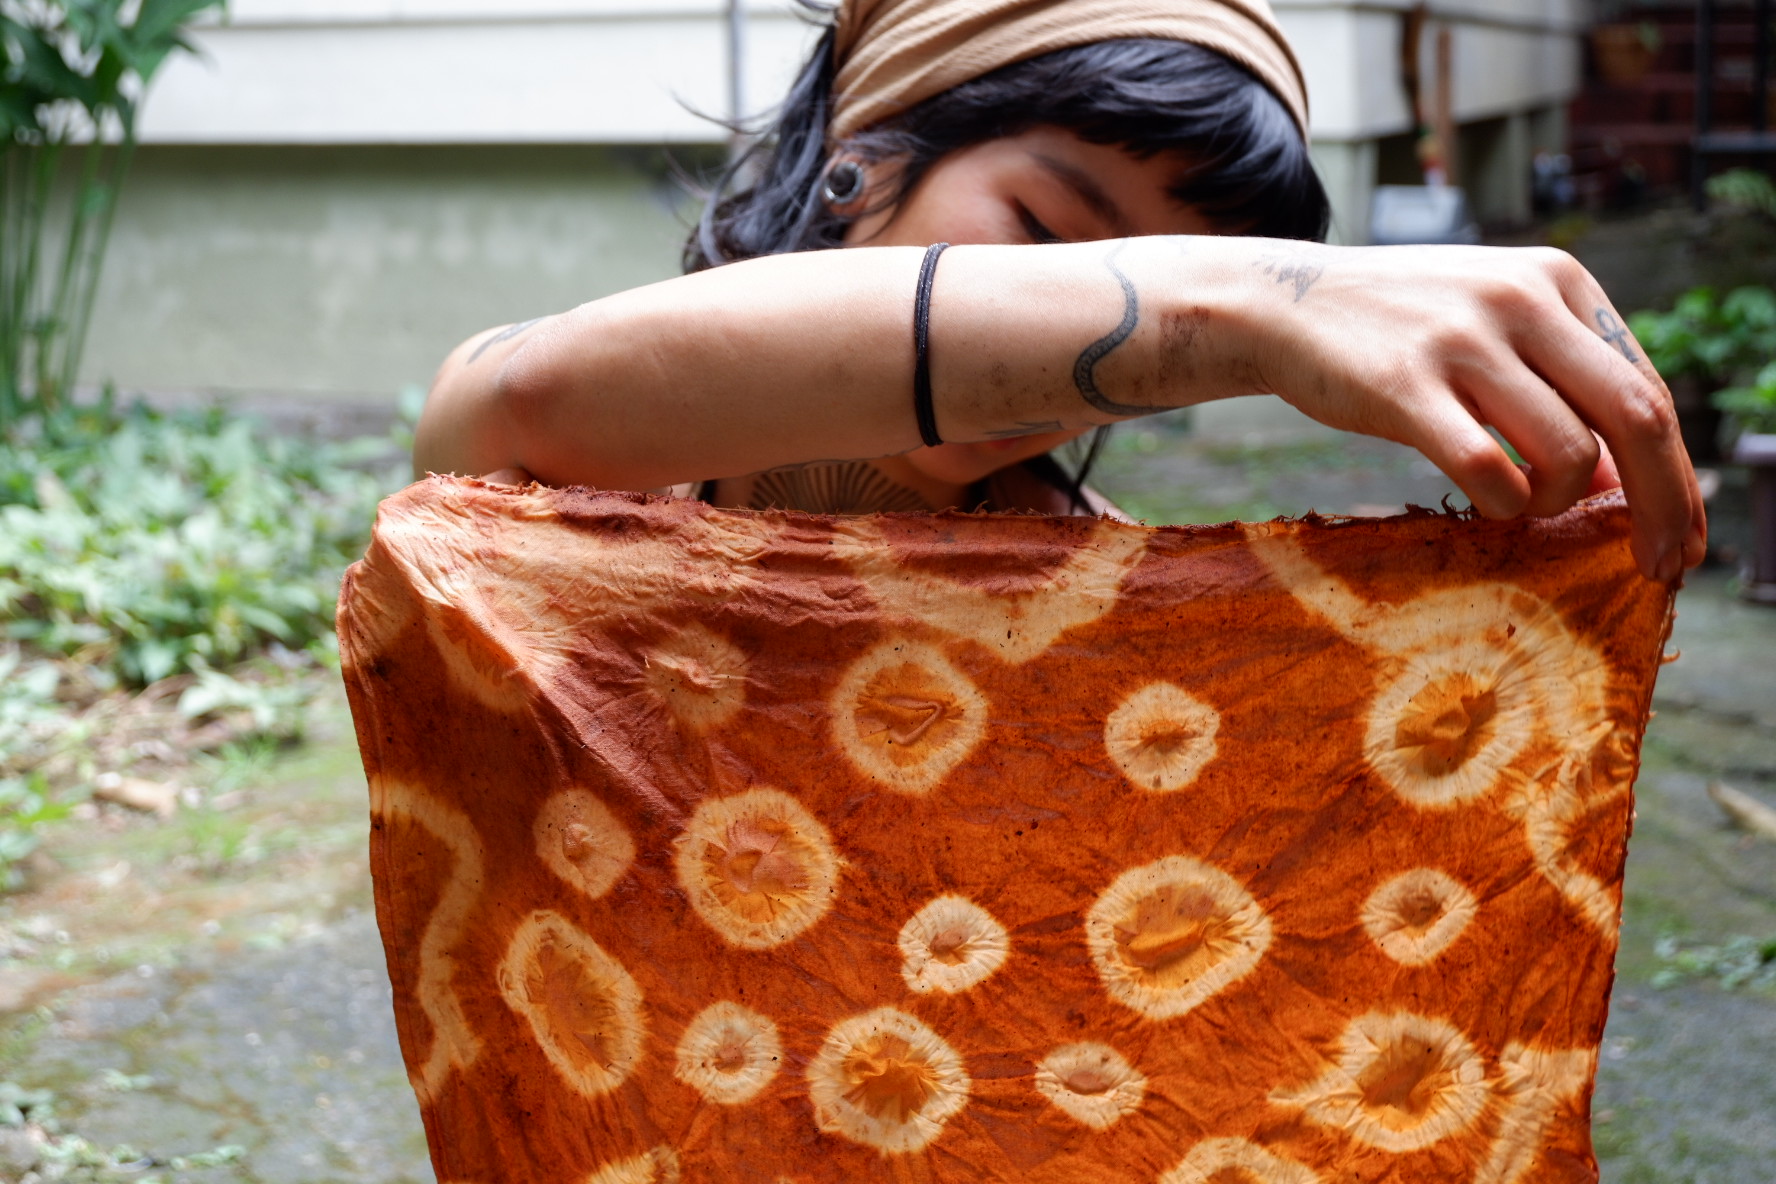
- Tie fabric with wooden beads/marbles to create circular shapes
- Create a running stitch along a pattern / shape with a thread & needle, gather the fabric and lock with a knot to create different shapes and patterns
Feel free to experiment and combine different dye resist techniques to create different patterns on your fabric
Step 5: Submerging the Fabrics in the Dye Bath
Once the dye bath & fabrics are ready, heat the dye bath over high heat, and add in your fabric–making sure that the level of liquid is enough to cover the fabric, and that the fabric is able to move around the pot.
Let it boil for 1-2 hours stirring occasionally. After boiling, turn off the heat and let your fabric soak in the dye bath overnight, or up to 5 days (the longer the soak the more saturated the yield).
Step 6: Removal of Fabrics from Dye Bath
Once you’ve achieved the color that you like in your fabric, take the fabric out of the dye bath and wash to remove any residue. Remove the yarns/rubber bands/marbles/sticks to reveal the patterns on your fabric.
Wash the fabric with water and hang to dry under the shade.
Aftercare for Naturally-dyed Clothing/Fabric
- Wash the fabric with mild, bleach free detergent
- Dry in the shade
- Do not bleach/dry clean
- For machine washing: wash on gentle cycle


